A Taggers Guide to the Fizzy Knitting Map
Introduction
This is our getting started guide for map tagging for the Fizzy Knitting project. If you’re reading this, it means that you have volunteered to help us improve the mapping data that we are using. Thank you and welcome to the project!
What is the Fizzy Knitting map?
It is an online map of the UK’s rail network showing electrification data. You can read more about the project’s aims here. It will eventually have a better name but for now it is “Fizzy Knitting”, a slang term of high voltage overhead line.
The map is designed to be a fairly quick project, which means using existing mapping data rather than drawing a map from scratch. Luckily, the Open Street Map (OSM) project has been ongoing for several years, and already contains extensive mapping data for the UK, including a more-or-less complete map of the UK rail network, down to individual track level.
This data is available to anyone who wishes to use it to build bespoke online maps, and plenty of people have already done that. The Fizzy Knitting map is essentially a bespoke presentation of the existing OSM data, using the railway electrification data subset within the (much larger) OSM dataset, and presenting it in a way that surfaces the UK rail network and fades back or omits all of the other OSM mapping (streets, buildings etc).
Crucially, the OSM data is not just free to use - it is also free to edit. Think of it as being the Wikipedia of maps - anyone can contribute to the overall map. Indeed, it is the combined efforts of a huge number of people that has led to the OSM database being what it is today. We are hoping that you will add to that collective effort and help us to improve the quality and completeness of the OSM rail electrification data.
What makes a good Fizzy Knitting Tagger?
Qualities that come in handy when tagging are:
- Knowledge of the UK electrified network or at least UK rail network;
- Computer literacy;
- High attention to detail - no-one is going to review your edits so you must self-check;
- Patience!
How does the editing process work?
The Fizzy Knitting map is simply a render of the current OSM database. We pull a copy of that database - or at least the railway assets that we are rendering - at regular intervals, and then render it for presentation on our website.
This means that, to change the mapping itself, you don’t edit our map; rather, you edit the master OSM database. A few hours later, your edits will be visible in our map, after we pull the database update that contains your edits.
The editing process is as simple as this:
- Identify an error or omission in the existing map;
- Download a copy of the OSM data for the location of interest;
- Edit the OSM data;
- Check your work;
- Commit the changes back to the OSM server;
- Wait a while;
- Check your edits on the Fizzy Knitting map.
Sounds scary - what if I make a mistake?
The actual editing process is extremely easy - anyone with a reasonable level of computer literacy can make the changes that we are interested in. However, it is important to remember that the OSM map is the cumulative result of huge amounts of hard work by 1000s of people - so it is important to adhere to some simple rules:
- Don’t make edits unless you are sure your information is correct;
- Self-check your work before you commit;
- You’ll generally be editing the tags on existing tracks - don’t create, move or delete existing tracks without talking to the project first;
- Don’t copy or trace from other maps - this is a violation of the copyright in those maps and is against the fundamental principles of OSM.
There is some good general practice at the OSM guide here - please read this before tagging.
Step 1: Identifying Errors or Omissions
First of all, visit our prototype map and familiarise yourself with our colour coding. Agree with the project team the route or region that you are going to focus on - we have already covered some areas so make sure you’re not going over old ground.
Start sweeping through your area looking for non-electrified tracks (black) in the middle of electrified ones, siding complexes that should be electrified but aren’t shown as such, or 3rd rail that should be 4th rail. Basically, anything that you think is wrong.
If in doubt, ask the team. We have electrification experts on hand with detailed UK knowledge; don’t be afraid to ask.
Step 2: Get an OSM account and install JOSM
For the next step you need an OSM map editor. There are a number of different editors, but the one we’re recommending is JOSM. JOSM has a very shallow learning curve, is intuitive and has a very mature design. It makes mapping easy.
Go to the JOSM site and download/install the editor for your operating system. If you don’t already have Java installed on your machine, install that too or it won’t work.
Before you can use JOSM you will need an OSM account - your edits will be tied to your account so that there is an audit trail within OSM. Register for your account at the OSM site.
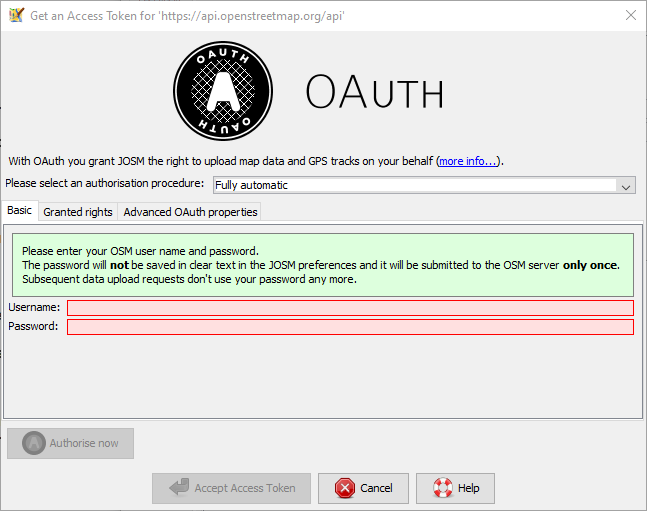
Open JOSM for the first time and you’ll be asked to login using your OSM account in order to get an access token. Do that, and accept the token.
JOSM works by presenting you with the master OSM map; you then draw a box around the region you want to edit, and it pulls down the data within that box. This means that a) the map is very confusing, with streets and buildings getting in the way of your railway edits, and b) you have to download a large dataset, which limits the size of box you are allowed to draw.
A much better approach is to only download the railway assets and ignore the other assets. To do this you need to use an Overpass query. Overpass is a querying system for OSM. You have to enable Overpass to use the query.
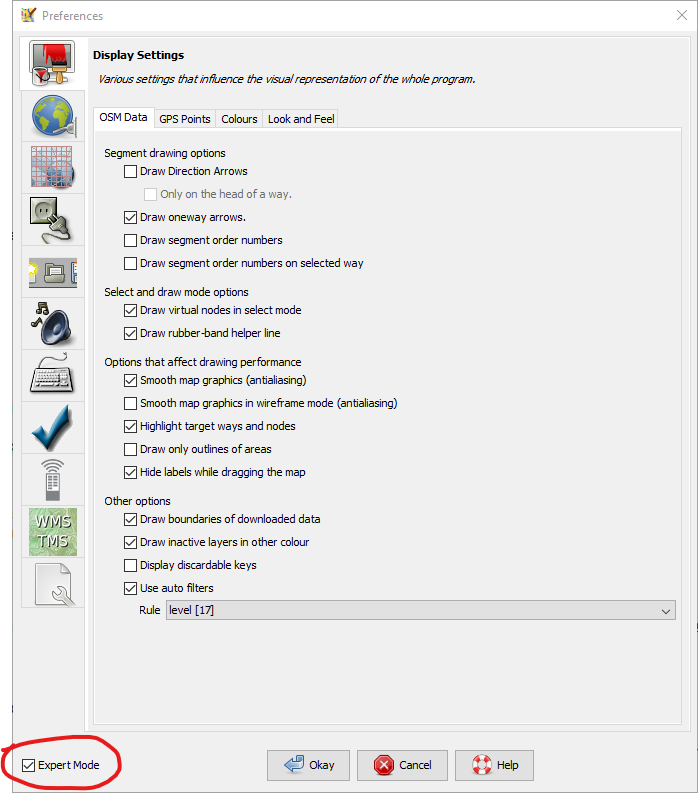
In the main JOSM window go to edit>preferences and enable “expert mode”:
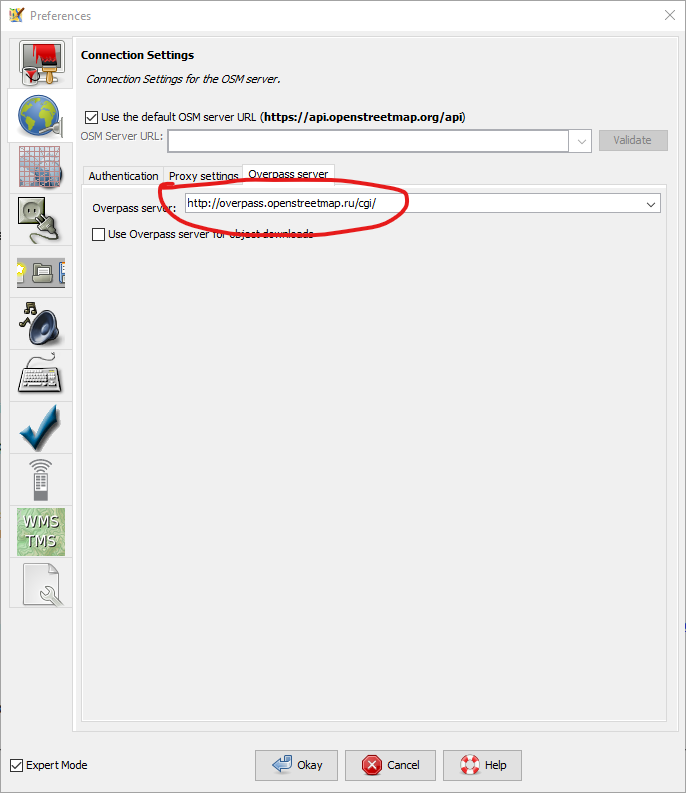
Then in the connection settings dialog (the big planet icon) click the overpass server tab and copy/paste the following into the overpass server text box:
http://overpass.openstreetmap.ru/cgi/
Click “okay” to exit the preferences dialog. Congratulations, you are now ready to pull map data and start editing.
Step 3: Download a copy of the OSM data for the location of interest
In the JOSM main window
- click the green “download map data” button on the main menu,
- then click on the “download from overpass API tab”.
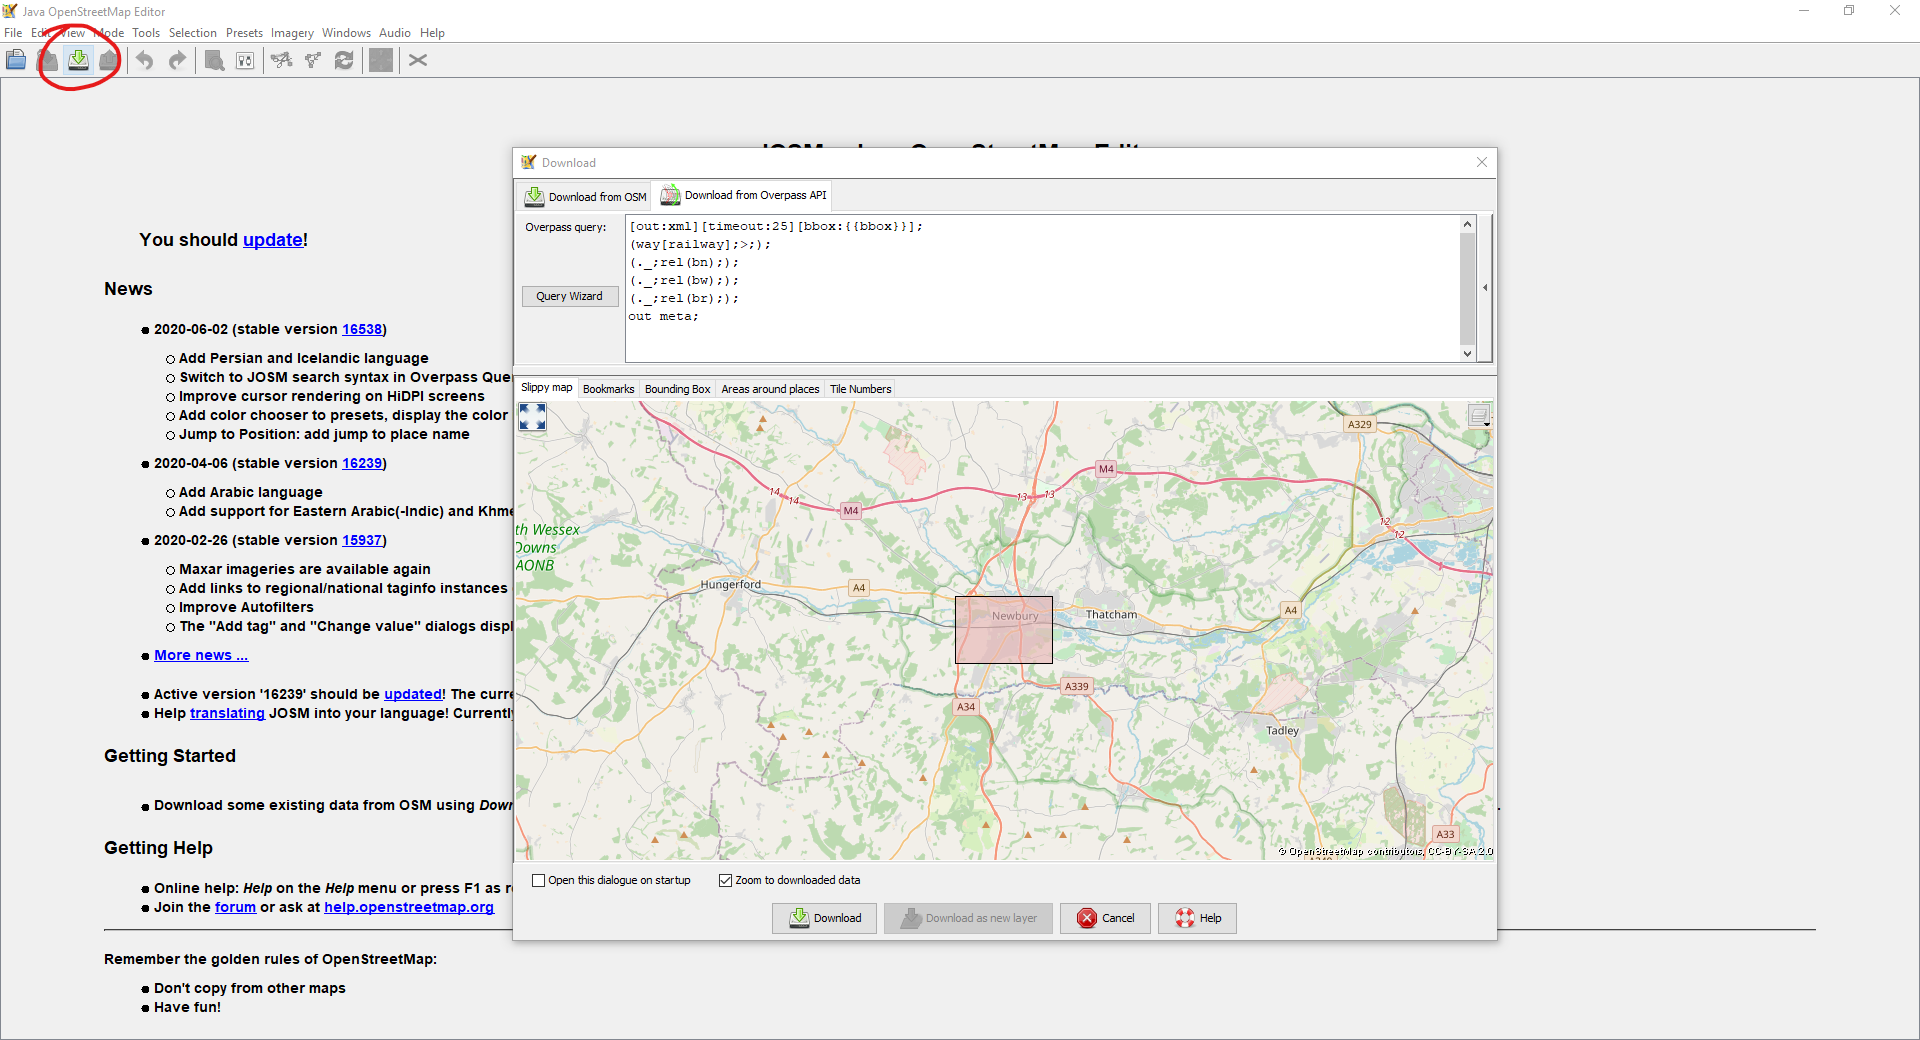
Copy/paste the following query into the query box:
[out:xml][timeout:25][bbox:{{bbox}}];
(way[railway];>;);
(._;rel(bn););
(._;rel(bw););
(._;rel(br););
out meta;
You will only need to do this the first time you download data - JOSM will remember your last query.
Now navigate to your region of interest in the map below the query. Warning: JOSM uses an unusual mouse-click protocol. To pan the map, click-hold the right mouse button.
Now draw a bounding box around the section you want to download. Click-hold the left mouse button to do that. When you’re happy, click “download” and wait for the data to arrive.
If this has worked you should see something like this:

Step 4: Edit the railway tags
Each track is made up of linear segments which in OSM are called ways, with each way comprises two or more nodes. Ways are used to present linear routes including paths, roads and railways. Each way can have multiple tags applied to it. Each tag describes a property of the way. So for instance:
railway=rail
identifies the way as a mainline railway track.
There are three main tags that Fizzy Knitting taggers are focusing on:
- electrified=* defines the contact system used; overhead line, 3rd rail, 4th rail, or none
- voltage=* defines the system voltage, e.g. 25000V, 750V
- frequency=* defines the frequency in Hertz
Please take time to read and understand the full list of valid tag values. If you have any questions about these, please don’t guess, just ask.
For the actual editing process, please watch our short video.
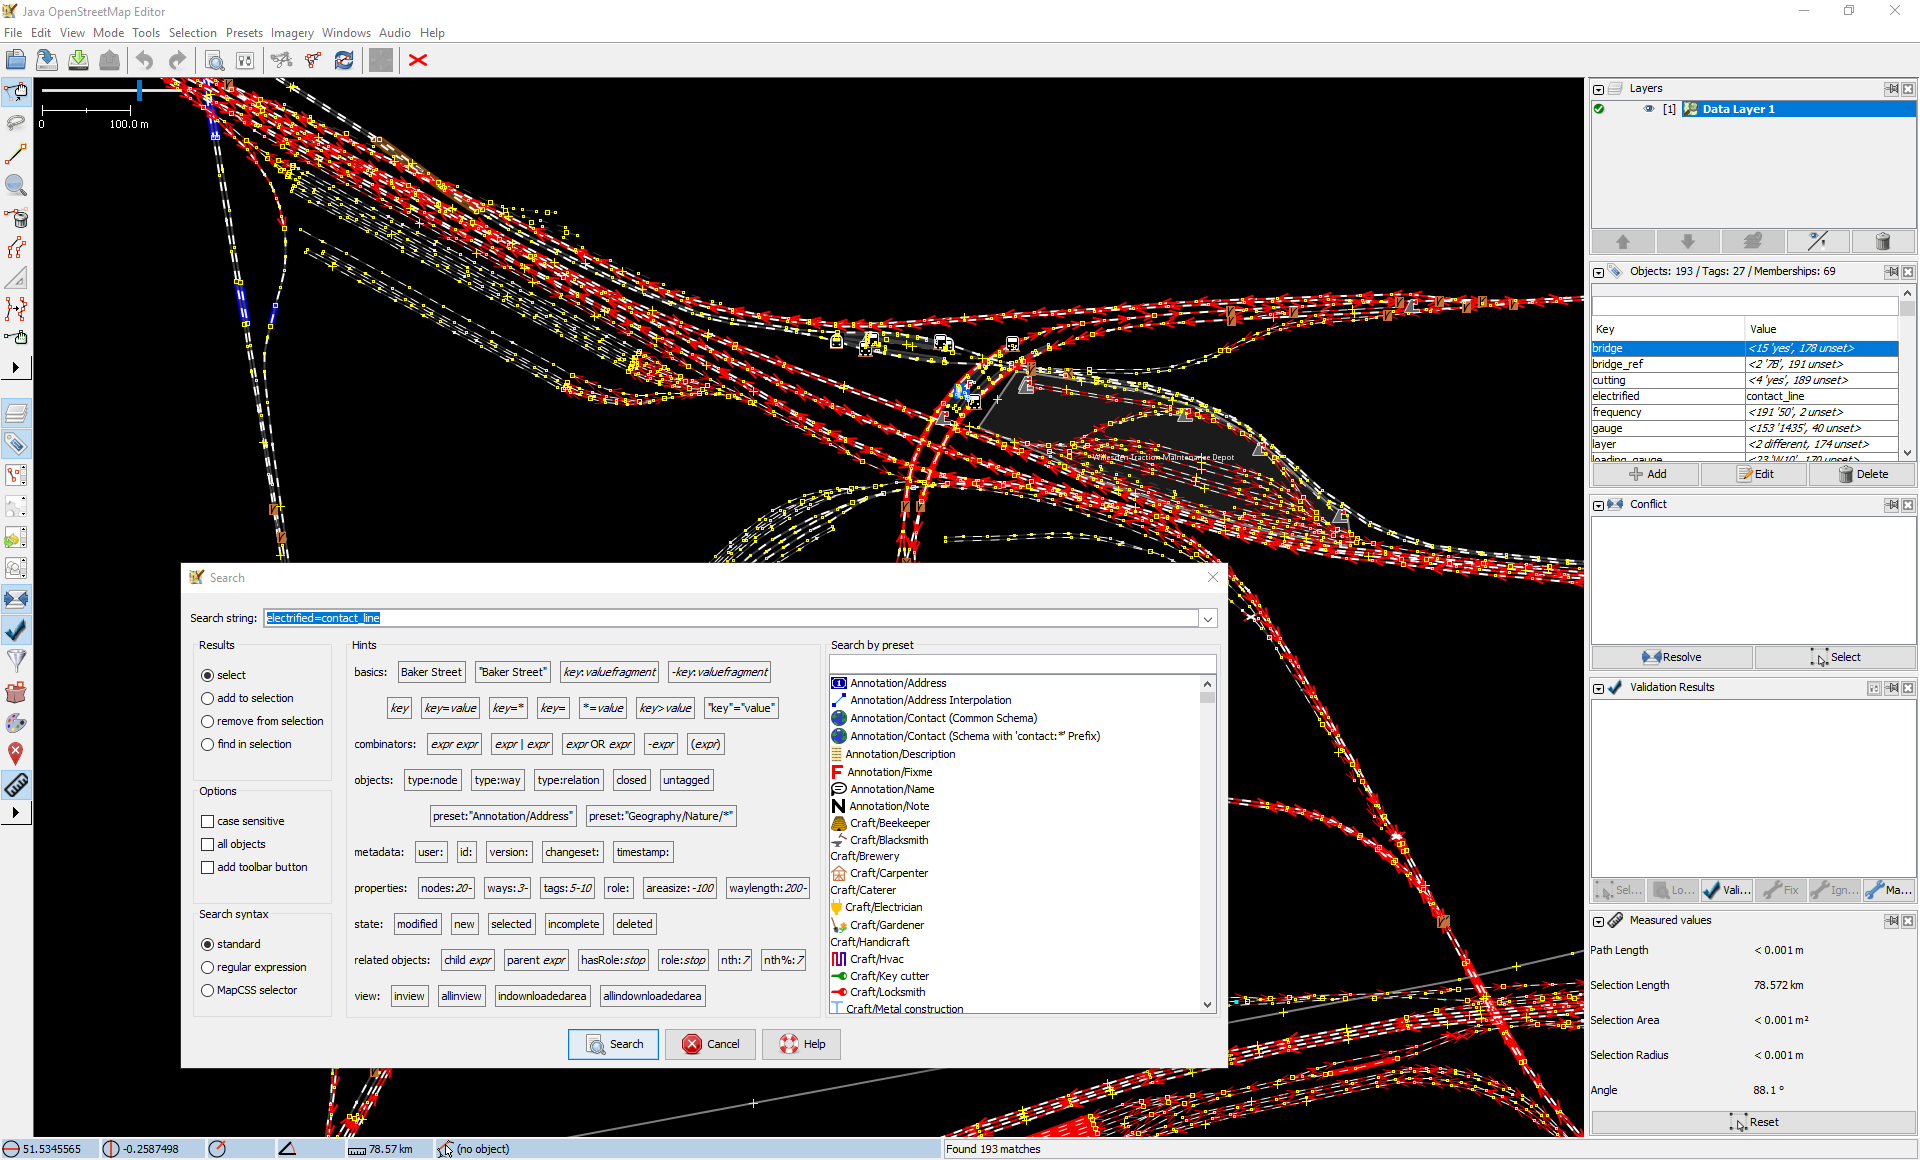
Step 5: Check your work before you Commit
Use the “search tool” in JOSM (edit>search) to select all items with a particular tag, and make sure that you have tagged them correctly. For instance, here is a selection of all electrified=contact_rail items:
Step 6: Commit Your Work
Commit your changes as shown in the video above.
Step 7: Check your work on the map
You can get an (almost) instant view of what your changes look like by using Overpass. This is a mechanism for querying the OSM database and generating a map. The process is as follows:
- Go to Overpass Turbo;
- Zoom in to the area you have been editing;
- Copy and paste this query in its entirety into the box on the left of the window;
- Click “Run”.
After a short wait you should get a map which has (roughly) the same colour coding as the Fizzy Knitting map. This system will show your edits around 5 minutes after you commit them, whereas our map may not show them for several hours. If you made a mistake, simply correct it in JOSM, recommit the change, and then after 5 minutes run the Overpass query again.
That’s it!
- Now you can begin editing. If you get stuck just ask…